I am following this very detailed walkthrough .
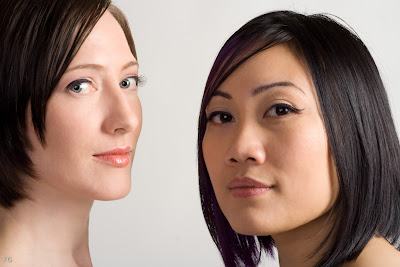
This a nice shot of Justice and Robin (make up Kristin Von Claret) after some basic skin retouching with the healing tool and the procedure described in the above link.
Obscure notes to self: if I had to burn or dodge some specific areas:
- layer
- create a new layer
- overlay
-fill with 50% gray
When it is time to create the skin mask for the filters involved in the skin retouching (Lens Blur and High pass) go to the Channels Palette. Make an Alpha Channel and erase/burn as desired. Then turn your newly remodeled Alpha Channel/Mask into a selection: Go back to the Layers Palette and, making sure your layer (I use the top layer that contains all the sublayers) is the Active Layer, click on the third-from-the-right-button on the bottom of the Layers Palette which will turn your still-selected new Alpha Channel into that Layer's new Layer Mask. (this last detail is not in the skin retouching howto).
No comments:
Post a Comment